Planning
What we just did in the previous section, letting the agent have full control of a multi-step process, is not the best way to fully leverage agentic coding capabilities. Instead, it is recommended to break down your workflow into smaller, distinct increments that are easier to verify and iterate on.
Plan mode overview
This is precisely where “Plan mode” becomes invaluable. Plan mode allows you to refine your instructions for your agent, resolve potential ambiguities, and quickly redirect overeager agents. This gives you better control over the different components of your analytical workflow before any code or files are modified in your project.
To effectively integrate agentic AI into your work, consider following this structured approach:
- Begin in Plan mode (read-only)
- Review the proposed steps for your analysis
- Supply additional context and refine the plan
- Iterate through this cycle as many times as needed
- Ask for separate scripts for the primary components of your workflow
- Once satisfied, switch to Build mode for actual implementation
- Leverage version control to create snapshots of your work before and after major changes
When reviewing the plan, you might consider questions such as:
- Does the plan reveal gaps in your understanding that need to be resolved before moving ahead? If you read the plan and think to yourself, “Wow, this is more complicated than I imagined!”, then this might be the case. You might want to cancel the plan or rethink your approach.
- Does the plan resolve ambiguities in the initial prompt in ways that align with your expectations? If not, update the plan with additional specificity.
- Does the plan make appropriate implementation choices (programming language, dependencies, data sources, etc.)? You may need to steer the coding agent toward tools and approaches you prefer.
Switching to plan mode
In OpenCode, you can use the tab key to switch between Plan and Build modes. Build mode is the default when you start OpenCode. The active mode appears right below the cursor in the prompt input area.
For complex, multi-step problem planning, it is advisable to leverage the most advanced model available, keeping token costs in mind. After the initial steps are laid out, transitioning to a less advanced model to execute those predefined tasks can lead to a more efficient use of your resources.
After toggling between modes, always check which model you are using, as Plan and Build modes can use different models. For the purposes of this workshop, we generally recommend planning with Gemini 3.1 Pro (Custom Tools) and building with Gemini 3.5 Flash. But you can always explore other combinations!
Planning our NOAA tides example
Let’s revisit the California tides analysis from the previous lesson and see what it would be like to generate this code using planning mode. (Since you already generated this code, you don’t need to follow the steps here. This is just a demonstration of Plan mode).
To use Plan mode:
- Start OpenCode in the
noaa-tidesproject folder. If you have an existing OpenCode session, start a new OpenCode session with/new. - Switch to Plan mode by pressing the tab key until you see “Plan” below the text input cursor.
- Select your planning model with the
/modelscommand and choose the Gemini 3.1 Pro (Custom Tools) model.
To kick off the planning process, enter your initial prompt:
I would like to download the monthly mean high water for all NOAA stations in California using the NOAA API and python.
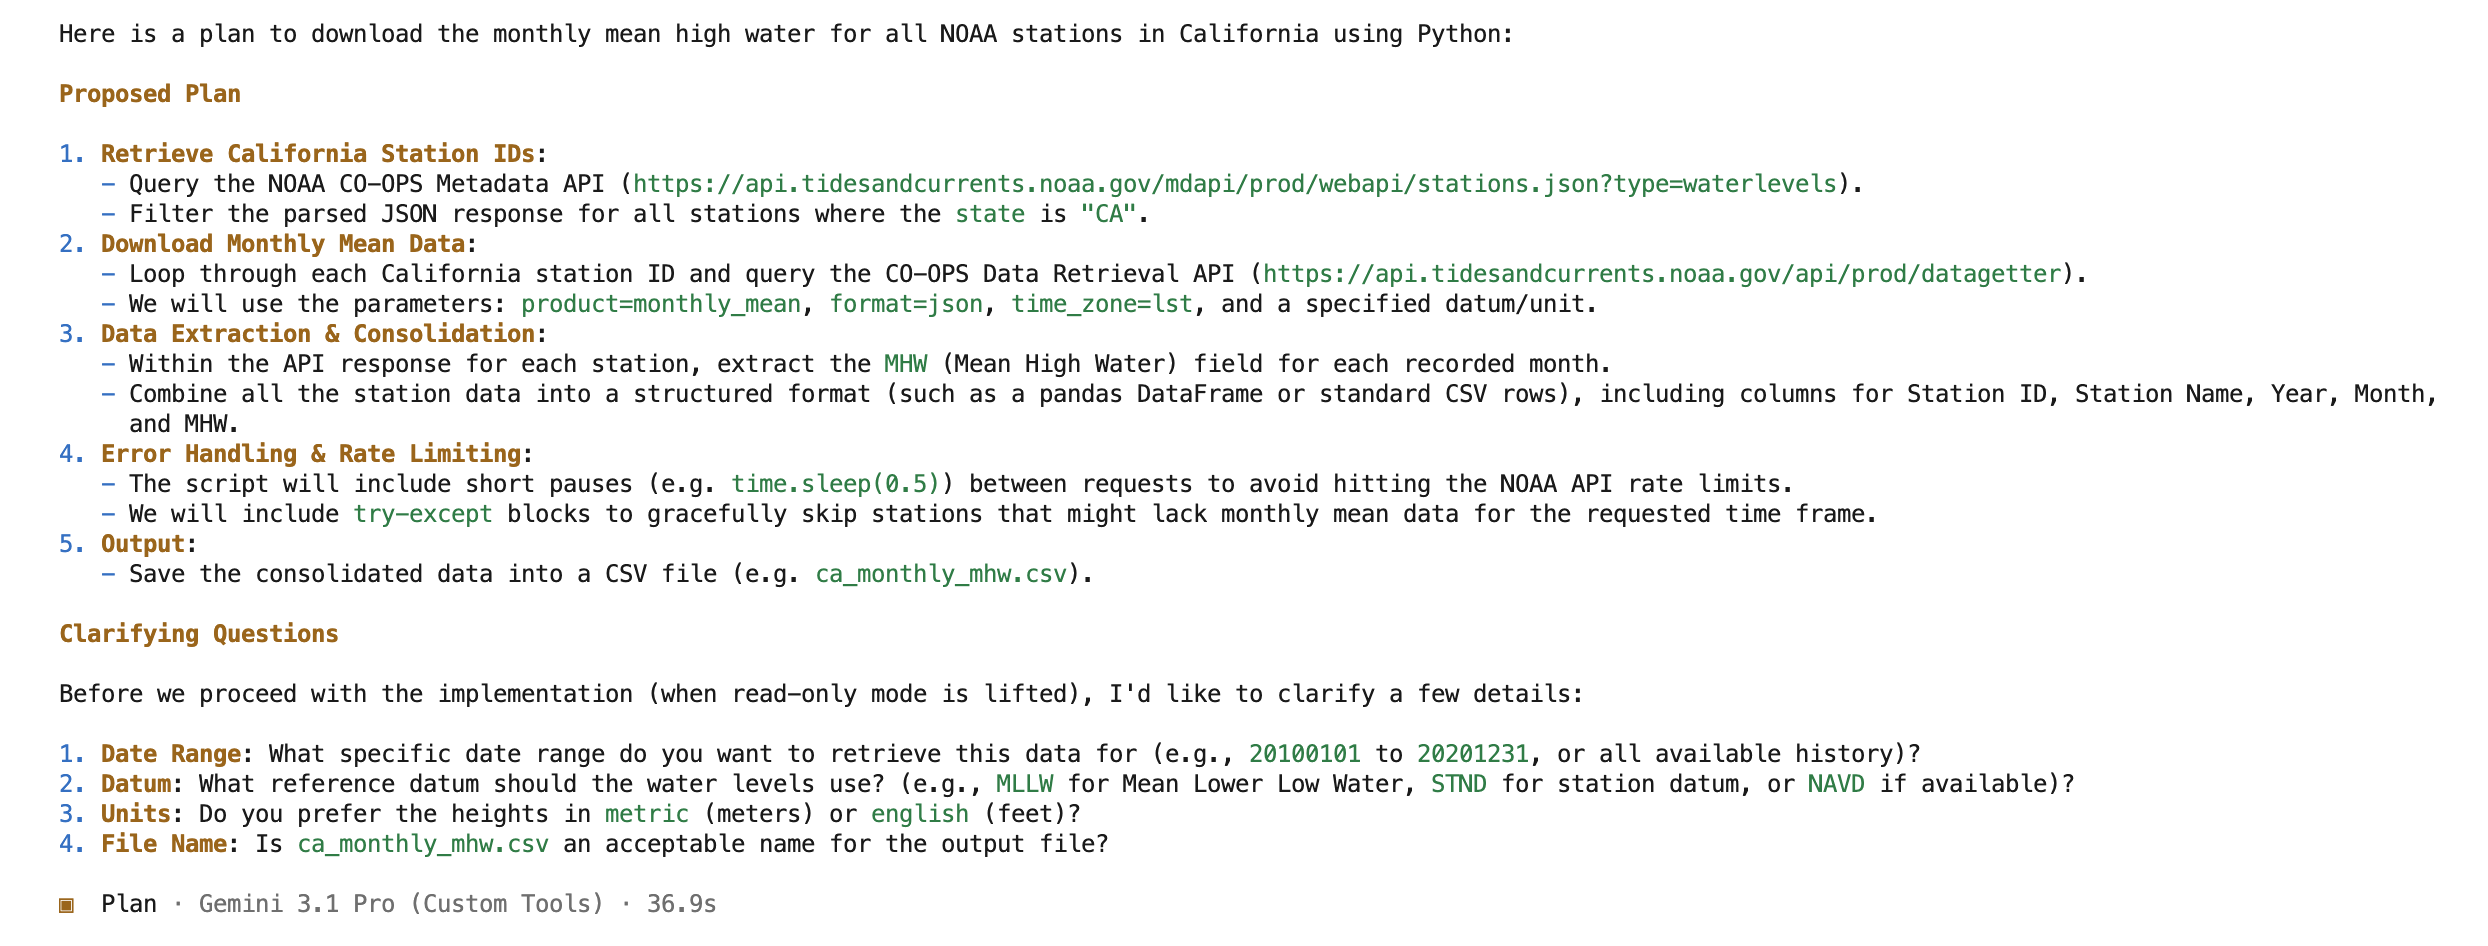
In this case, OpenCode responded with a set of clarifying questions. We can address these questions individually or revise our initial prompt to include the missing details:
Download data for the last decade, use the MLLW datum as reference, use the metric system for units, create a data folder with a subfolder data-raw in it and save the downloaded data in this subfolder. Write a Python script to download the data and save it in a code folder at the top of our project folder
And here is the updated plan:
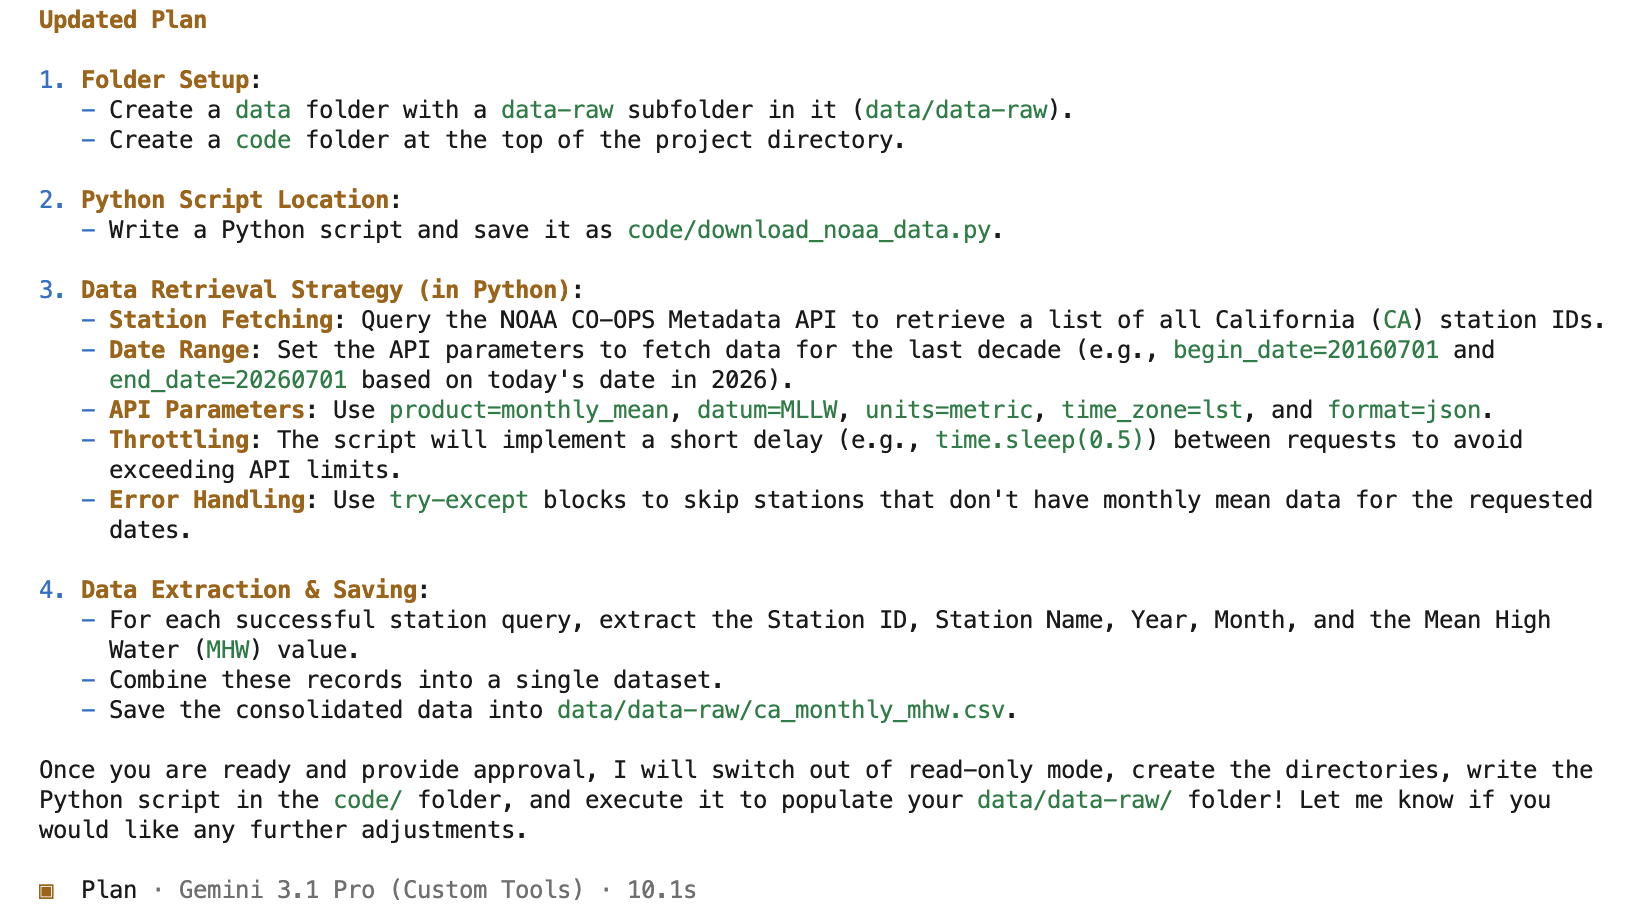
The plan looks fine – isn’t it useful to see what the agent would do before it does it? We’re ready to build:
- Switch to Build mode by pressing the tab key
- Enter a prompt to kick off the build process: “The plan looks good. Go ahead!”
That’s it. Now it’s your turn to try Plan mode.
As before, please complete this exercise individually but discuss issues and results in small groups (2-5 people).
Perhaps you’ve heard about a cool new package manager for Python called uv, and you’d like to use it to manage dependencies for your NOAA tides project. You also realized that with the number of files growing in your project folder, you might want to reorganize it. For this exercise, use Plan mode to convert your project to using uv for its dependencies:
- Make sure you are running OpenCode in the
noaa-tidesfolder. If you have an existing OpenCode session, start a new OpenCode session with/new. - Enter Plan mode and switch to the Gemini 3.1 Pro (Custom Tools) model if necessary.
- Make a plan to “migrate this project to uv, for dependency management”.
- Inspect and iterate.
- Add reorganizing our files with all the scripts in a “code” folder and plots in a “output” folder.
- Inspect and iterate.
- Switch to build mode and switch to the Gemini 3.5 Flash model.
- Execute the plan
- Make sure you commit your work. (You can also add that to the plan!)
Explore further
A few ideas:
- Refactor your code to generate separate CSV files for each datum.
- Select a single station and analyze changes across different years.
- Create an interactive data visualization using Plotly.
- Explore NOAA metadata to know what type of information is available for stations? For example, could we get latitude/longitude to make a map?
Session management
In the exercise above, we started Plan mode from a new session, which we create with the /new command. A session is a single, continuous conversation with the coding agent: your prompts, the agent’s replies, and every file it read or wrote along the way. Everything in the session makes up the agent’s context – the information it carries with it from one prompt to the next. That’s why the agent “remembers” the datum and the units you specified ten prompts ago.
Long session gets slower and more expensive: the entire conversation is sent to the model each time you hit Enter.
Sessions are saved to disk, so quitting OpenCode doesn’t throw yours away. To pick up where you left off:
- Run
opencode --continue(oropencode -c) to reopen the most recent session in the current project folder. - Or start OpenCode normally and use the
/sessionscommand to list your past sessions and select the one you want.
Resuming is useful when you’re returning to a task you left half-finished, like a very detailed planning session. Starting fresh with /new is usually the better choice when you switch to a new task, when the agent seems confused or keeps circling back to earlier (now-irrelevant) decisions, or when the session has simply grown long. A clean context is cheaper, faster, and easier for the model to work with.
This connects directly to Plan mode. Planning is a conversation: you brainstorm, ask questions, change your mind, and reject a few approaches before settling on one. All of that dead-end discussion stays in the context when you switch to Build mode. If your planning session runs long or eats a lot of context, a good practice is to ask the agent to write the plan to a markdown file (for example, plan.md or docs/plan-uv-migration.md), then start a new session with /new and prompt the agent to implement the plan from that file.
Project documentation
Before we end our work on this project for the day, we want to make sure to document what we have done so far.
- Check that the current folder and file structure of your project matches what you had in mind
- Make sure that all the scripts that have been created have been committed to your git history
- Write a concise
README.mdwith information about the project: goals, file structure, and how to run the scripts are good elements to include. Add and commit this file to your git history.
All the information you are adding in your project directory will be included in the context that is sent to the model with your prompts, so it is beneficial to add as much information as you have while working on your project.
OpenCode can assist you with all these various steps!