Setup Instructions
Please complete the setup instructions before the first day of the workshop.
Create Your Workspace
During the workshop, you will use a coding agent running on a virtual machine, called a Coder Workspace. It can take a few minutes to create your workspace so we recommend doing it before the workshop. To create your workspace:
- Log in to the Coder Workspaces environment using your UCSB NetID.
- Click the New Workspace button and then Coder Workspace (Summer 2026).
- On the New Workspace form:
- Enter a name for your workspace (or use the suggested name).
- Review the usage policies and click “I understand the usage policies”.
- Click Yes for “Include Visual Studio Code (Web)”
- (Optional) Click Yes for “Include Visual Studio Code (Desktop)”
- Click the Create Workspace button
- Wait for the workspace to be created.
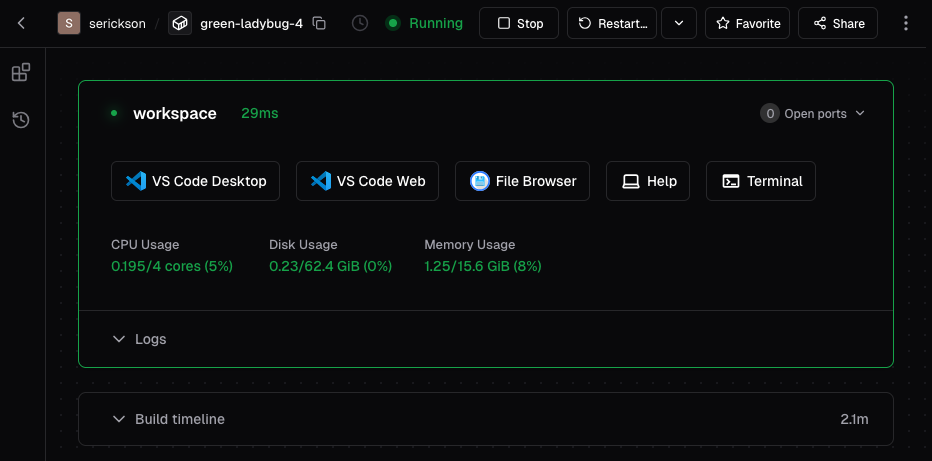
It may take a few minutes for the workspace to start up. Once it does, you should see a workspace dashboard. Your dashboard controls may be slightly different, depending on the options you enabled.
Optional Setup for VS Code Desktop
This is optional. If you prefer to use the VS Code desktop app, rather than the browser-based version, use these instructions to set things up.
Install VS Code
We will use Visual Studio Code (VS Code) as our primary development environment. Download and install VS Code using these instructions.
Install Coder Remote Extension for VS Code
We will use the Coder Remote extension for VS Code to connect to our Coder Workspace from inside VS Code.
To install, click the green “Install” button on that page. (You should already have VS Code installed). Alternatively, you can install it through the “Extensions” panel within VS Code: search for “Coder Remote” and click “install”.
Check That Everything Works
Check that you can connect to your Coder Workspace from VS Code.
- Open VS Code and click the Coder extension icon from the vertical bar on the left side of the menu. You should see a button to “Login”
- Click the login button and enter
https://coder.dreamlab.ucsb.eduin the text input box. Then press Enter. - Your web browser should open to a page with a button to “copy session token.” Click the “copy session token” button and close the browser window/tab.
- Back in VS Code, paste the session token in the “Coder API Key” text input and press Enter.
- You should see the workspace you created listed in the “My Workspaces” panel of the Coder Remote extension.